🤖 Jenkins on Google Cloud
Building a browser-based test automation server on the Google Cloud Platform by using SeleniumBase
(This tutorial, from a previous Google Cloud Meetup, will teach you how to setup a Linux server for running automated browser tests. The cost of running this server is about $13.60/month on Google Cloud (enough to handle 5 parallel tests). This is less expensive than using other platforms.)
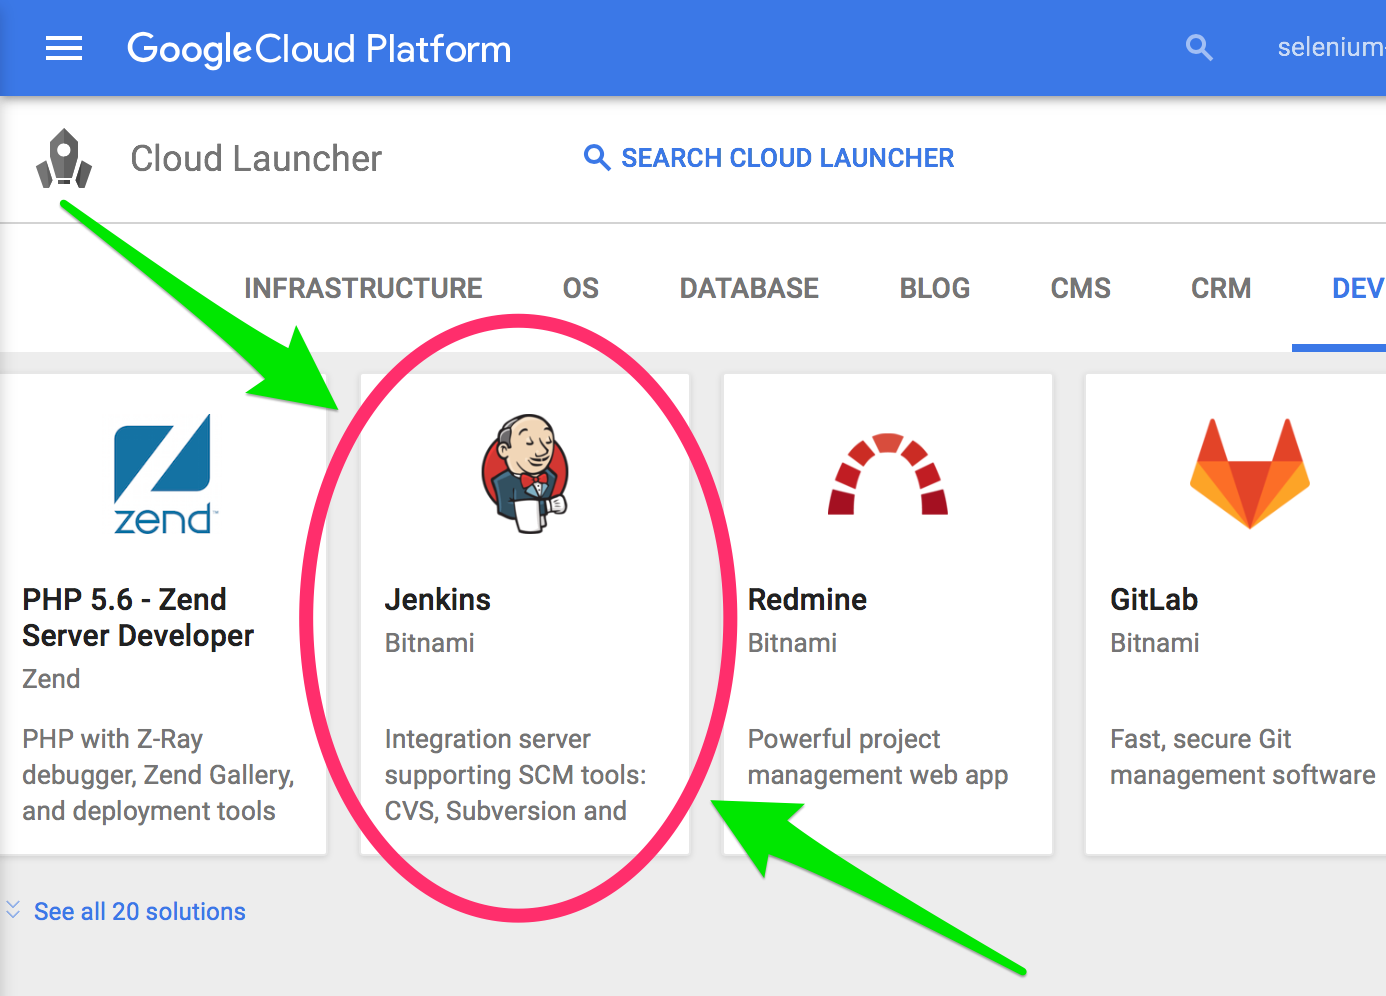
Step 1. Open the Google Cloud Platform Cloud Launcher
- Navigate to https://console.cloud.google.com/launcher
- (If you already have an active Google Cloud project, the Google Cloud Launcher will probably default to using that. If you don't, sign up for the free trial of Google Cloud Platform here to get started.)
Step 2. Launch a Jenkins instance

- Under "Cloud Launcher", Click on "Jenkins Certified by Bitnami"
- Click on "Launch on Compute Engine"
- Give the instance a name
- Give the instance a zone
- Click "Create"
Step 3. Connect with your new Jenkins instance

- SSH into your new instance by selecting: "SSH" => "Open in browser window" from the instance page.
Step 4. Clone the SeleniumBase repository from the root ("/") directory.
cd /
sudo git clone https://github.com/seleniumbase/SeleniumBase.git
Step 5. Enter the "linux" folder
cd SeleniumBase/integrations/linux/
Step 6. Give Jenkins (aka "tomcat" user) sudo access (See tomcat_permissions.sh for details)
./tomcat_permissions.sh
Step 7. Become "tomcat" (the Jenkins user) and enter a "bash" shell
sudo su tomcat
bash
Step 8. Install dependencies (See Linuxfile.sh for details)
./Linuxfile.sh
Step 9. Start up the headless browser display mechanism: Xvfb (See Xvfb_launcher.sh for details)
./Xvfb_launcher.sh
Step 10. Go to the SeleniumBase directory
cd /SeleniumBase
Step 11. Install the requirements for SeleniumBase
sudo pip install -r requirements.txt --upgrade
Step 12. Install SeleniumBase
sudo python setup.py develop
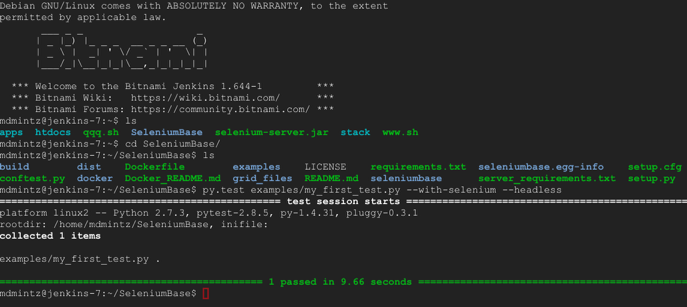
Step 13. Run an example test on Chrome to verify installation (May take up to 10 seconds)

pytest examples/my_first_test.py --headless
Step 14. If you prefer using nosetests, that works too
nosetests examples/my_first_test.py --headless
Step 15. You can also verify that the example test runs on Firefox
pytest examples/my_first_test.py --headless --browser=firefox
Step 16. Login to Jenkins
- (The url, as well as username and password, should be accessible from your Google Cloud Platform VM instance page.)
Step 17. Create a new Jenkins job

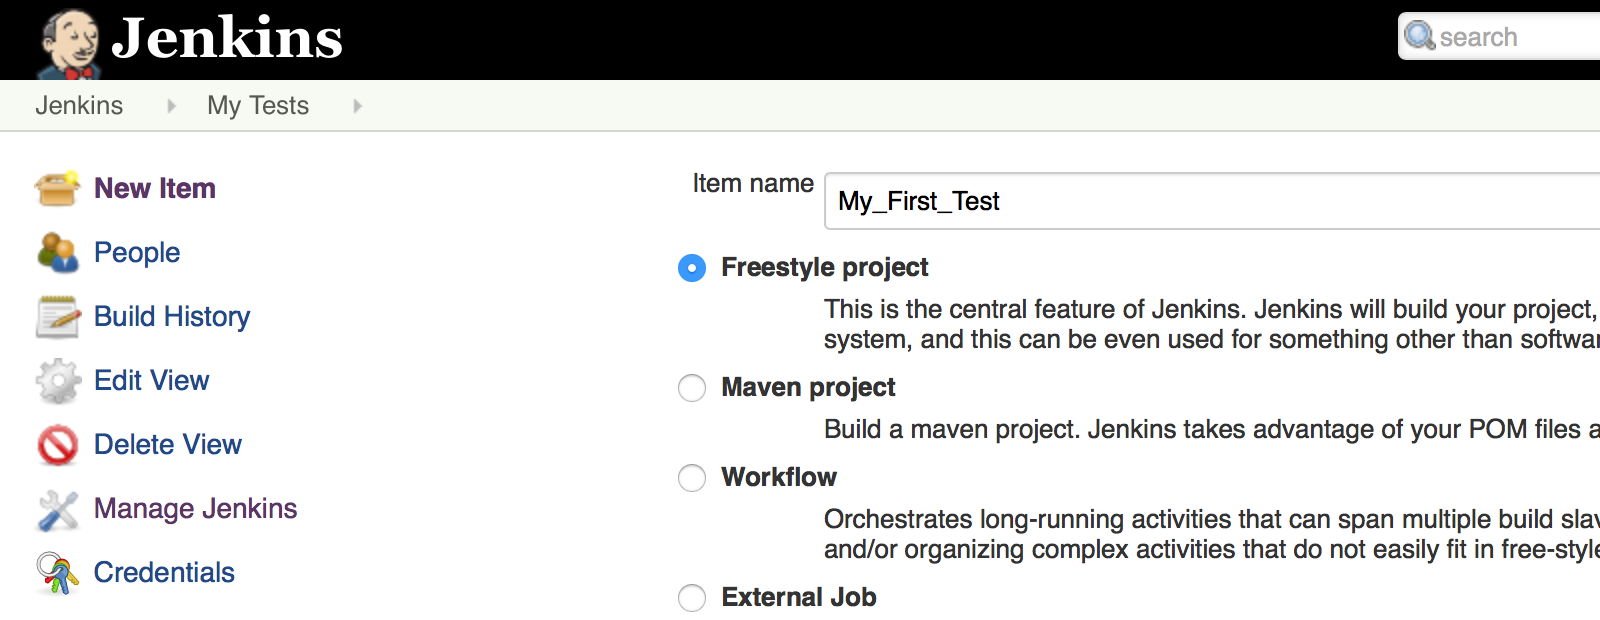
- Click on "New Item"
- Give your new Jenkins job a name (ex: "My_First_Test")
- Select "Freestyle project"
- Click "OK"
Step 18. Setup your new Jenkins job
- Under "Source Code Management", select "Git".
- For the "Repository URL", put:
https://github.com/seleniumbase/SeleniumBase.git. (You'll eventually be using your own clone of the repository here.) - Under "Build", click the "Add build step" dropdown and then select "Execute shell".
- For the "Command", put:
pytest examples/my_first_test.py --headless
- Click "Save" when you're done.
Step 19. Run your new Jenkins job
- Click on "Build Now"
- (If all the setup was done correctly, you should see a blue dot appear after a few seconds, indicating that the test job passed.)
Step 20. Future Work
If you have a web application that you want to test, you'll be able to create SeleniumBase tests and add them to Jenkins as you saw here. You may want to create a Deploy job, which downloads the latest version of your repository, and then kicks off all tests to run after that. You could then tell that Deploy job to auto-run whenever a change is pushed to your repository by using: "Poll SCM". All your tests would then be able to run by using: "Build after other projects are built". You can also use MySQL to save test results in the DB so that you can query the data at any time.
Congratulations! You're now well on your way to becoming a build & release / automation engineer!
MySQL DB setup instructions
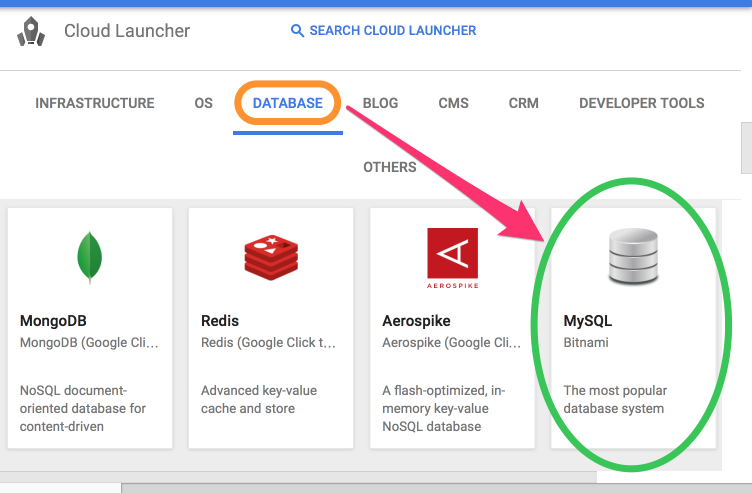
Step 21. Return to the Google Cloud Launcher and launch a MySQL Instance

- Under "Featured Solutions", Click on "MySQL"
- Click on "Launch on Compute Engine"
- Give the instance a name
- Give the instance a zone
- Click "Create"
Step 22. Get the Connection credentials for your new MySQL Instance
- Under the Google Cloud Platform menu, go to "Compute Engine"
- Find your new MySQL instance and then write down the value written in the "External IP" section.
- Under the Google Cloud Platform menu, go to "Deployment Manager"
- Find your new MySQL instance and then click on it.
- Write down the values for Admin username and password. (Username should be "root")
Step 23. Get a MySQL GUI tool so that you can connect to your MySQL Instance
- You can download MySQL Workbench for this.
Step 24. Create a new connection to your MySQL Instance
- Use the MySQL DB credentials that you saved in Step 21 for this.
Step 25. Create a new database/schema in your MySQL Instance
- You can name your database/schema
test_db.
Step 26. Create the necessary tables in your MySQL database/schema
- Run the create_db_tables.sql script in your MySQL database/schema to create all the required DB tables.
Step 27. Have your local clone of SeleniumBase connect to your MySQL DB Instance
- Update the MySQL connection details in your settings.py file to use the credentials that you saved in Step 21.
Step 28. Have your SeleniumBase Jenkins jobs use your MySQL DB Instance
- For the "Execute shell", use the following as your updated "Command":
pytest examples/test_suite.py --headless --with-db_reporting
- Click "Save" when you're done.
Step 29. Run your new Jenkins job
- Click on "Build Now"
- If all goes well, you should be seeing new rows appear in your MySQL DB tables.